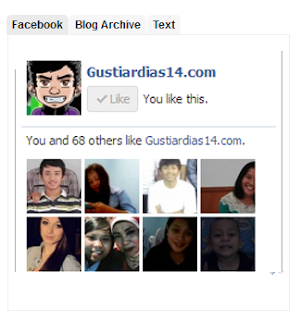
The tabviews are elements that allow us to group in a single container various gadgets and these can be selected via tabs.
Its main function is to save space on the blog to avoid scattered gadgets in the same category so you can group multiple gadgets into one. There are several methods for creating tabviews, some require jQuery, other MooTools, or any other script.
To add this widget to your blog, just follow the steps below:
Step 1. From your Blogger Dashboard, go to Template and click on the Edit HTML button
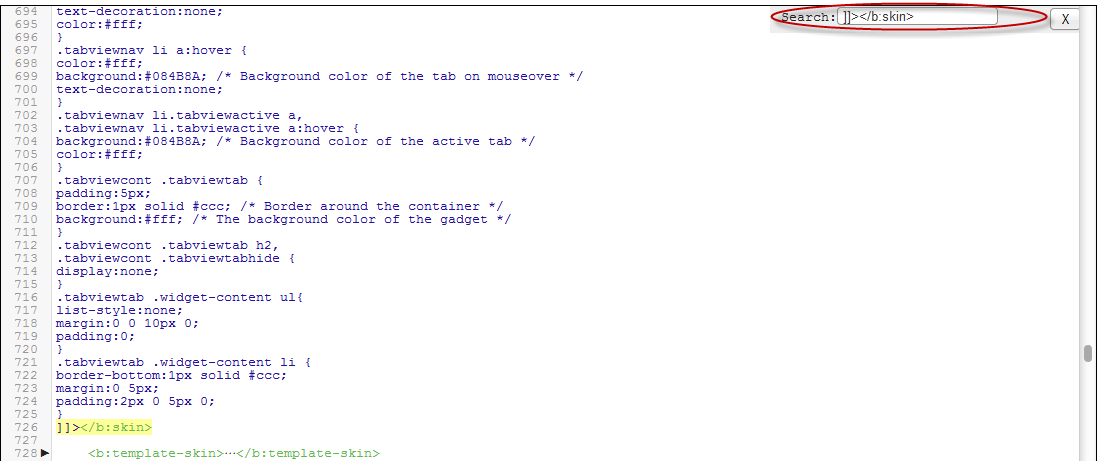
Step 2. Expand the style of the template, by clicking on the sideways arrow before <b:skin> ... </b:skin>
Step 3. Search using CTRL + F for the following tag:
Step 4. Just above it, add the following code:
Step 5. Find the </head> tag and just above it, paste this script:
Step 6. Finally, look for this line:
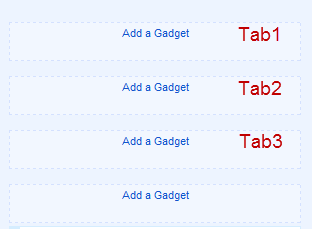
Step 8. Save changes, and go to Layout and there you will see the new areas to add gadgets.
You just have to click on Add a Gadget to add the gadget to the tab that corresponds, or drag a gadget you already have to that section.
If you want to add more tabs, then just add before the last </div> a line like this:
Note that each line you add should have a different ID, for example Tab5, Tab6, etc..
You can add multiple tabs, just repeat the last step and likewise remember to change the name of the IDs.
Remember that if your sidebar is too narrow, then you should not put a lot of tabs, or tab titles that are very long.
You should also note that this gadget does not speed up the loading speed of the blog, is only to group gadgets into one, even, depending on the blog-may take a while to load the tabview.


